
Startups
Corporates
Communıtıes
More
Blog
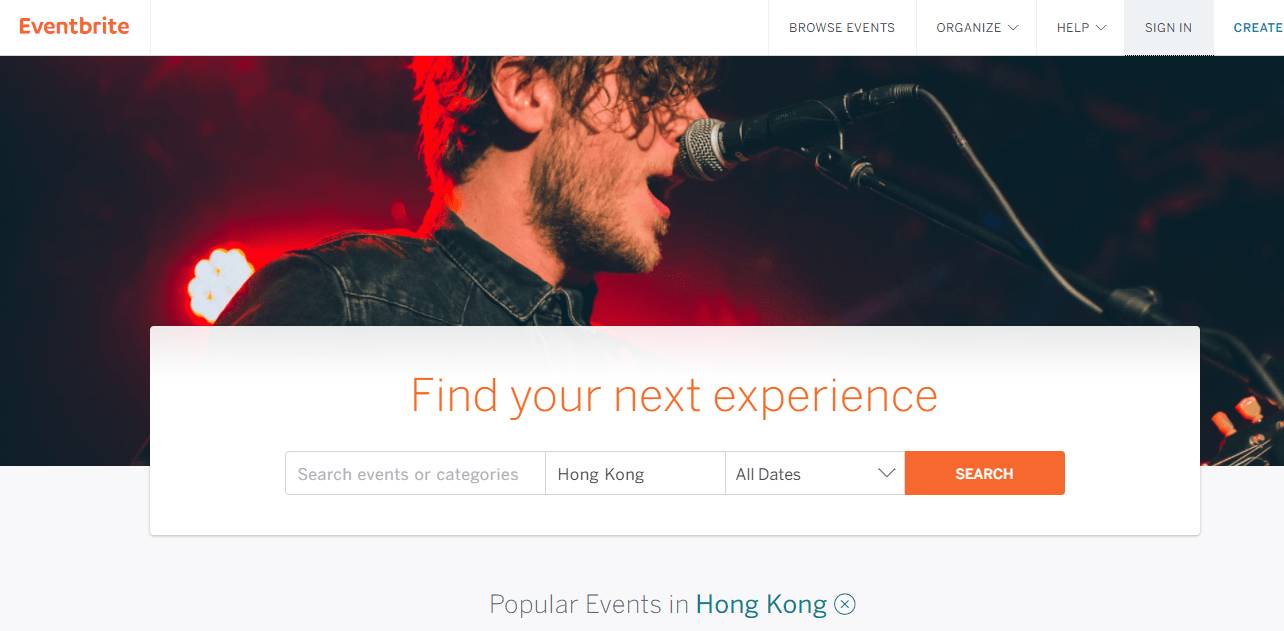
Eventbrite is one of the platforms we use the most for events and is most useful to us for announcements. So, how can you create an event link on this platform and what should we consider when creating these links?
You need an account to create an event first. You can register in a very short time by clicking on the "Sign in" section at the top right and create a membership on behalf of yourself or your company.
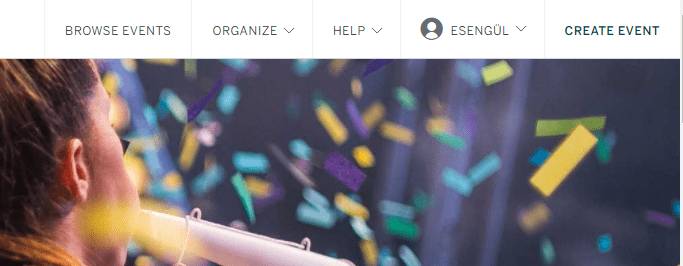
After you become a member, you can go to the membership packages page that Eventbrite will direct you. All you need to do is click the "Create Events" button next to your name in the upper right corner.
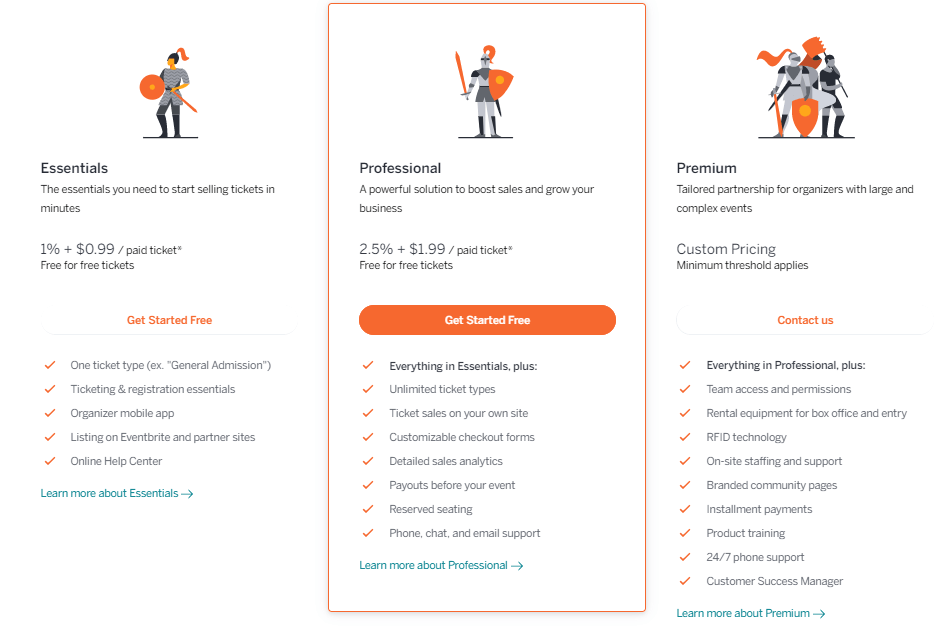
Eventbrite has three types: Essentials, Professionals and Premium. You can choose the most suitable one for you and start using it. If you want to change the package you chose later, you can change your selection by clicking Pricing in the "Use Eventbrite" section at the bottom of the page.
After selecting the membership package, Eventbrite will direct you to the Create An Event page below. If it does not redirect, you can access this page by clicking Create Event section next to your name.
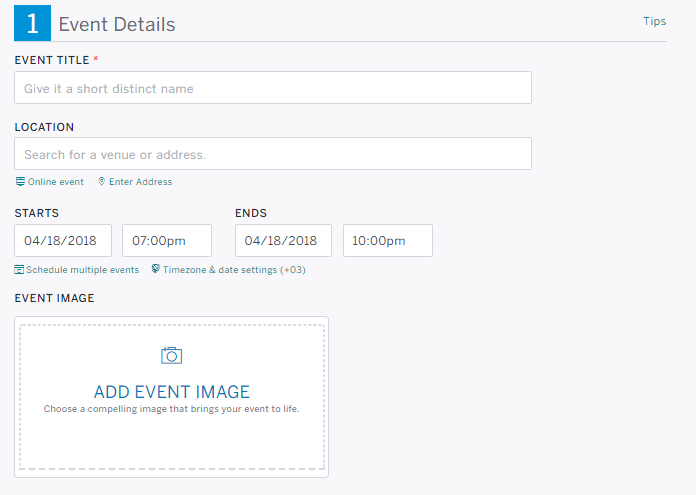
The first step you need to do is add the name, venue, date and time of the event to the page. Make sure that the event name is not too long, so it can appear in full on the general page. Also, the name of a very long event might be perceived as complex and not very interesting.You can add an image of your activity or company. Make sure that it does not exceed 10 MB! Choosing a simple visual will allow people to focus more on the description.
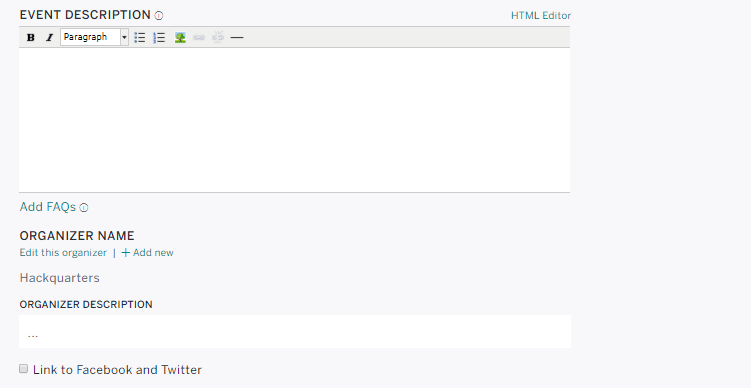
In the event description, you can add what the event contains and, if available, its agenda.You must make sure that it provides concise and accurate information about the event! You can also add your company's Facebook and Twitter link.
You should choose the type of the ticket from the Create Tickets section you see in the image above. For your event, you can also define different kinds of tickets at the same time.
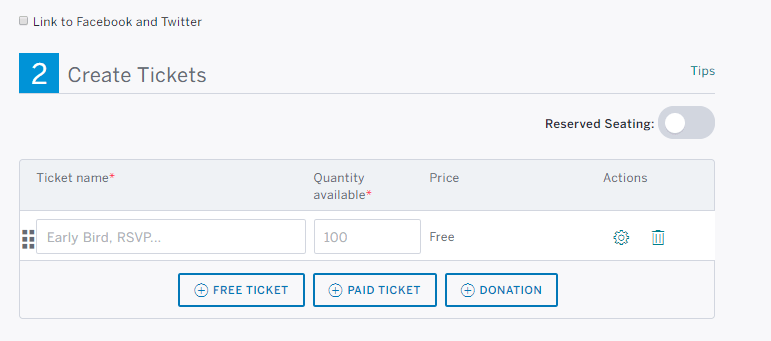
You will need to write the total number of tickets you will give and their fee. You also need to name your ticket. When you click on Settings, you will be able to make a more detailed edit. Here you can create the event description, the channel from which the event can be attended, the date and the maximum number of people you will allow at once.The point you need to consider here is that you need to set when the event tickets will go on sale and end according to the event date.
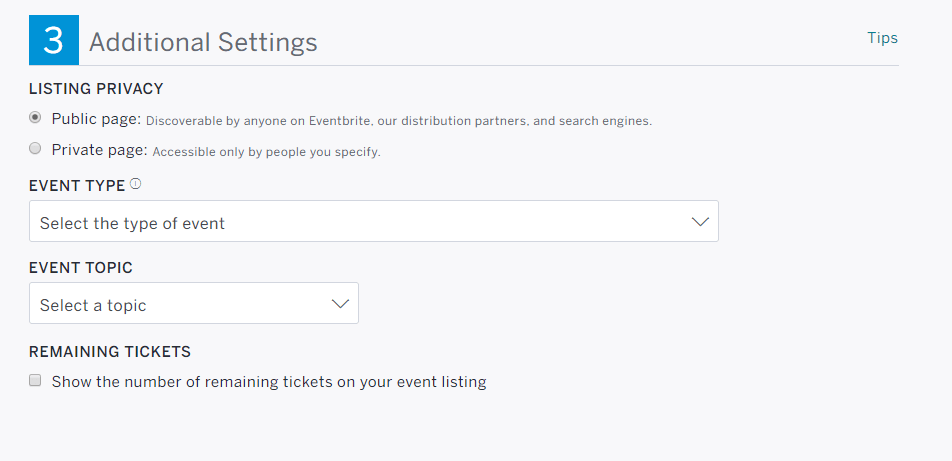
When it comes to the last part, you can choose where the event will be listed. Selecting the Public Page ensures that the event can be viewed by anyone. Private Page, on the other hand, will allow only those you limit to view the event. After choosing the type and topic of the event, you will complete this part.
After doing all this, very little remains! You need to control everything and activate your event. You can preview your event from the Preview section at the top of the page and change if there are places you don't like either in design or content.If everything is ok, you can make your event ready to share by clicking Make Your Event Live. Don't forget, you can always enter the event page and click on Unpublish to make the event inactive. You will also be able to make some adjustments while the event is active. But it is better to complete all preparations beforehand to give the same information to everyone.

Congratulations, you are now ready to invite people to your event!
.png)

.png)
.png)

.png)